Types of Japanese Shears: A Working Pro’s Field Guide
Understand blade lengths, edge geometry, and handle designs so you can match Japanese shears to technique and hand health.

Why knowing shear types matters
The right tool speeds up a service, protects your hands, and keeps hair looking clean. The wrong one leaves you fighting drag, battling tension, and booking an emergency sharpening. Use this guide—and the updated references across the site—to decode the main types of Japanese shears and map them to the work you do behind the chair.
Blade length categories
| Blade length | Typical uses | Notes |
|---|---|---|
| 4.5”-5.25” | Precision cutting, fringes, corrective work | Maximum control, best for smaller hands |
| 5.5”-6.0” | Everyday salon cutting | Balanced length for blunt, point, and light slide work |
| 6.5”-7.5” | Barbering, scissor-over-comb, bulk removal | Longer strokes, heavier spine for stability |
Edge and grind types
- Convex edge: Standard on Japanese shears. Ultra-sharp finish for smooth slide and point cutting. Requires trained sharpeners.
- Micro-bevel edge: Slightly thicker lip, more forgiving for new cutters. Often seen on entry and training sets.
- Hybrid convex/bevel: Some value brands use this to extend edge life while keeping slicing ability.
Shear categories
Cutting shears
Primary tool for shaping lines, layering, and point cutting. Choose blade length based on your technique mix. Pair a general-purpose shear with a dedicated precision or barber blade if you cover both extremes.
Thinning shears (30-40 tooth)
Designed for blending and soft weight removal. Look for v-shaped teeth to avoid snagging. Ideal for smoothing graduation or blending clipper lines.
Texturising shears (10-20 tooth)
Aggressive tools for removing bulk quickly. Wide-set teeth take out larger sections of hair; ideal for thick, coarse, or curly textures. Use sparingly and rehearse on mannequin heads first.
Specialty shears
- Swivel/thumb rotating: Reduce wrist rotation for stylists with RSI. Require habit retraining.
- Left-handed grinds: Mirror the internal blade geometry so hair does not push. Do not flip right-handed shears for left use.
- Detail/trimmer shears: Short, narrow blades for intricate work around ears or design lines.
Handle ergonomics
| Handle | Posture impact | Best for |
|---|---|---|
| Classic (symmetrical) | Neutral thumb in line with fingers; limited support | Occasional use, nostalgic feel |
| Offset | Drops thumb forward, reduces tension | All-day cutters seeking balance |
| Crane | Straight blade, lower thumb position | Stylists with shoulder or elbow strain |
| Swivel | Rotational thumb | Advanced users rehabbing wrist issues |
Steel considerations
- VG-10 / VG-10W: Common in mid-pro lines. Good edge life, corrosion resistance.
- ATS-314 (cobalt): Premium feel, sharper edge, requires careful sharpeners.
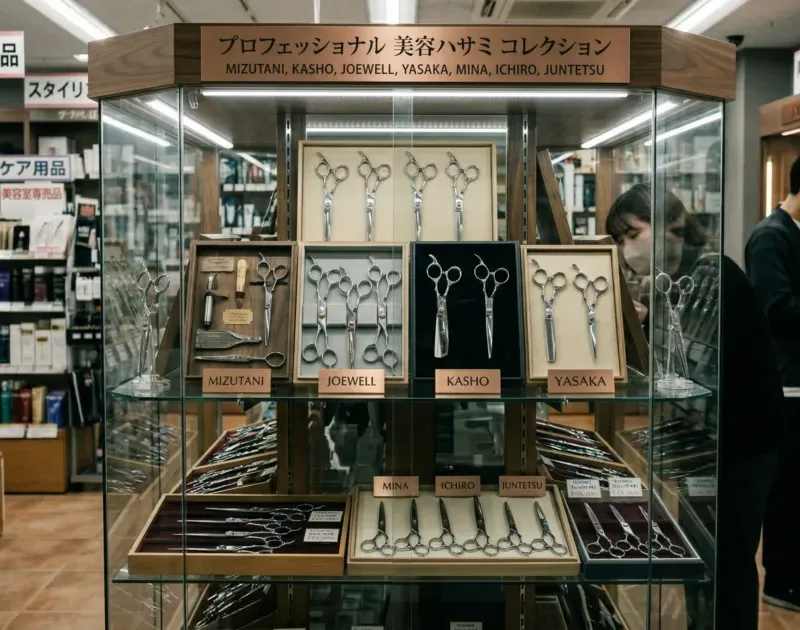
- Nano Powder Metal / proprietary cobalt blends: Found in Mizutani and Hikari. Exceptional glide, premium price.
- 440C / Aichi stainless: Training and value sets. Softer steel, easier to sharpen, shorter edge life.
Matching shear types to services
| Service | Primary shear | Backup/secondary |
|---|---|---|
| Precision bobs, blunt lines | 5.5” convex cutting shear | Detail shear (4.5”) |
| General salon mix | 5.75”-6.0” convex cutting shear | Thinning shear (30-35 tooth) |
| Barbershop fades | 6.5”-7.0” sword or semi-sword blade | Texturiser (10-16 tooth) |
| Curl specialists | 5.5” convex with soft closing action | Thinner with wider spacing to respect curl pattern |
Maintenance tips by type
- Cutting shears: Wipe and oil after each client. Check tension weekly.
- Thinners/Texturisers: Brush teeth with a soft toothbrush to remove product build-up; oil at the pivot and between teeth.
- Swivel shears: Lubricate the swivel joint to prevent squeaks and stiffness.
- Left-handed shears: Label storage sleeves clearly to keep them separate from right-handed tools.
Building a kit in phases
- Phase one: General-purpose cutting shear (5.5”-6.0”) + 30 tooth thinner.
- Phase two: Add either a precision shear (4.5”-5.0”) or a barber blade (6.5”-7.0”) depending on your clientele.
- Phase three: Introduce specialty tools (texturiser, swivel, left-handed pairs) tailored to your niche.
- Phase four: Upgrade materials-move from 440C to VG-10 or cobalt once your booking volume justifies the spend.
Final takeaway
Knowing the vocabulary around blade length, edge type, and ergonomic design makes you a smarter buyer and a healthier cutter. Start with a versatile pair, add tools that solve specific problems, and maintain each shear according to its role. Your hands-and your clients-will notice the difference.
Stay sharp — join the list
New product drops, maintenance tips, and member-only deals delivered to your inbox.