Japanese shear care: a quick reference
Remove hair and residue, complete the appropriate cleaning routine, dry the shear and give it its own protected space. Oil and tension directions come from the model's care instructions.
Clean after cutting
Clear loose hair from the blades, pivot and thinner teeth with a soft cloth or suitable brush. Complete your workplace hygiene procedure with a method compatible with the shear, then dry it fully. The cleaning guide separates cleaning, disinfection and lubrication.
Follow the pivot instructions
Use the maker's directions for the actual screw system, any oil and adjustment. A generic drop-test angle is not a setting for every shear. The full working routine explains why model construction matters.
Pause when the cut changes
Pushing, folding and catching describe a symptom. Use the changed-cut guide to record it clearly. Set a dropped or visibly damaged shear aside before another cut; persistent problems need a technician familiar with its edge and tooth design.
Store for the next shift
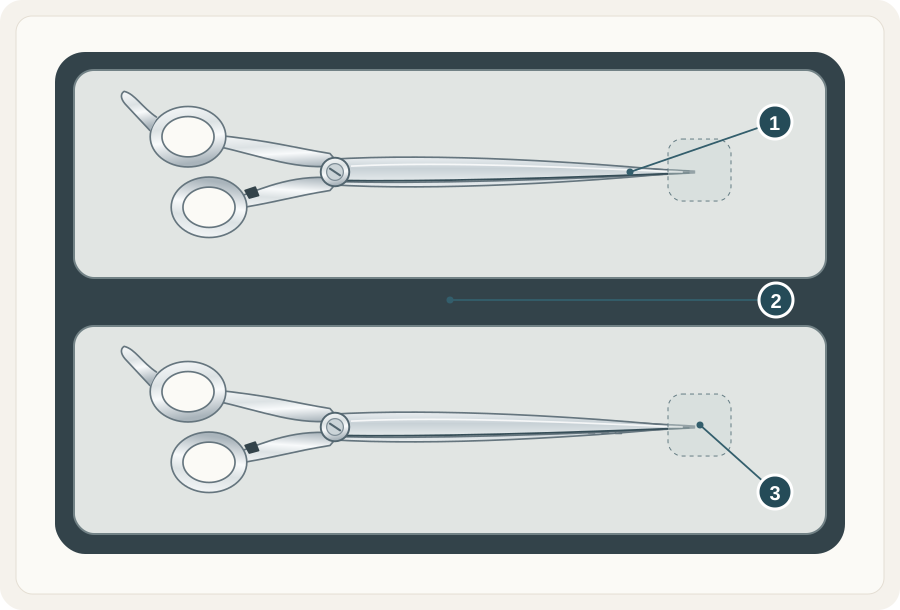
Put each dry shear, closed, into its own sleeve or protected slot. Keep tips, cutting edges and teeth clear of combs, clips and other tools. Keep the case clean and dry too.
 Open illustration at full size
- Close the toolClose gently before carrying or storing it.
- Separate the toolsKeep cutting edges and tooth blades from meeting another shear or loose accessory.
- Protect the tipsPrevent the tool from sliding or being knocked in storage and transit.
Keep the model, starting condition and service work together in the two-page tool and service record. For an arrival check, service preparation or a team tool audit, start at the care and ownership hub.
Prefer to type your notes? The blank fillable record works in PDF apps that support form fields. Save your own copy and check that your entries reopen correctly. Keep a separate record for each actual shear, including tools bought together in a set.