How to Prepare Japanese Shears for Sharpening
What to clean, record and tell a sharpener before servicing your Japanese shears.
A good sharpening appointment starts with a clear description of the problem. Take a few minutes to prepare the shear and your notes.
Before you hand it over
- Clean and dry it. Remove loose hair and product residue. Leave any edge damage untouched.
- Write down the symptom. Does hair fold, pull or slip? Does it happen at the tip, middle or heel? Note the technique and hair type when you notice it.
- Record the model. Include brand, size, edge type and tooth count if it is a thinner or texturiser.
- Take photos. Photograph both sides, the tip and any visible damage.
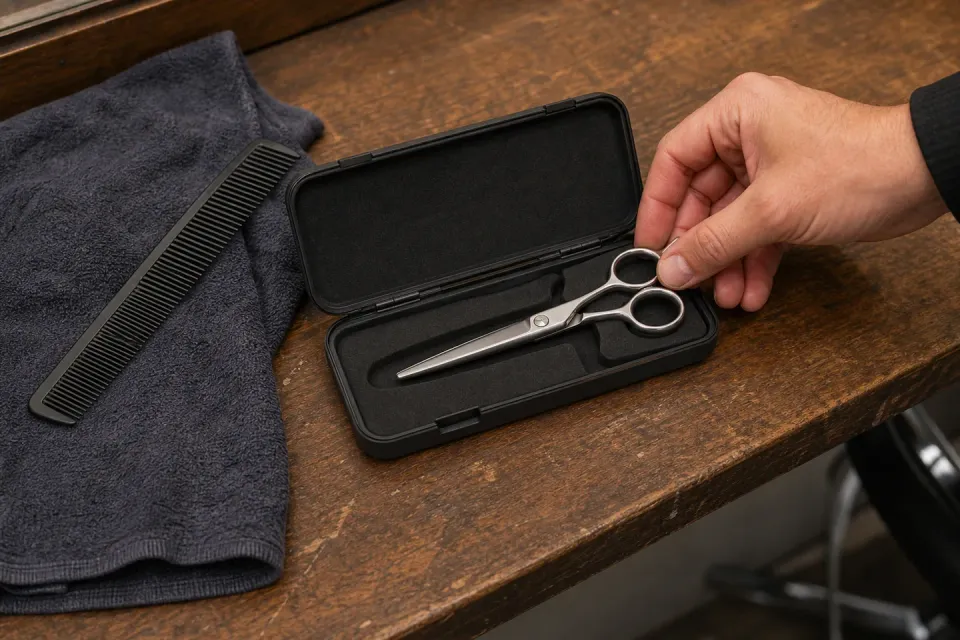
- Pack each shear separately. Protect the tips and stop the tools knocking together in transit.
What to ask the technician
Tell them whether you want the existing edge and tooth pattern maintained, and ask what work they plan to do. Mention a drop, damaged tip or unusual pivot feel before they start. An experienced technician can then decide whether the issue is edge wear, tension or something else.
When it comes back
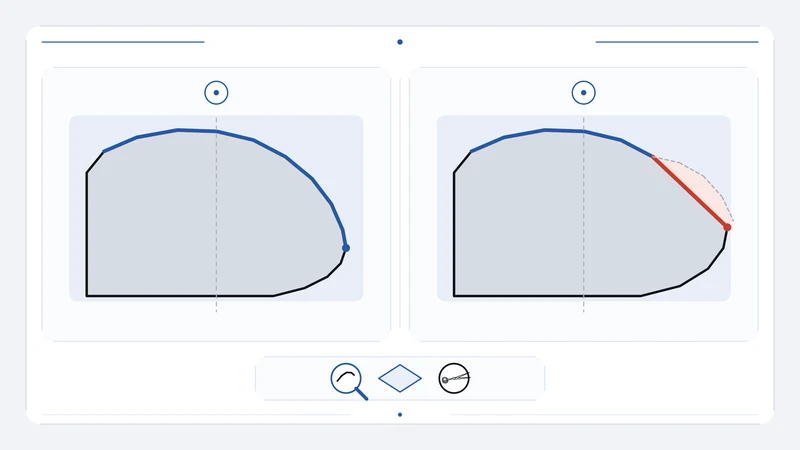
Inspect the blades and pivot, then test the shear on hair before a full day of clients. Note how it cuts and store the service details in your maintenance log. Continue the care routine in our maintenance guide.
A closer look at shears
Comparing two models? Send us their names or SKUs and the cutting work you have in mind.