Compare Thinning Shears in Supervised Practice
Give the comparison a purpose, then record what you observe.
By JapanShears EditorialUpdated
On this page
Compare one useful difference
If you are deciding whether another thinner would add something to your kit, give the comparison a job. “Which one removes more?” leaves out the shape you want to keep. A better question is: “Which construction should I discuss for this planned change, and what will my educator ask me to observe?”
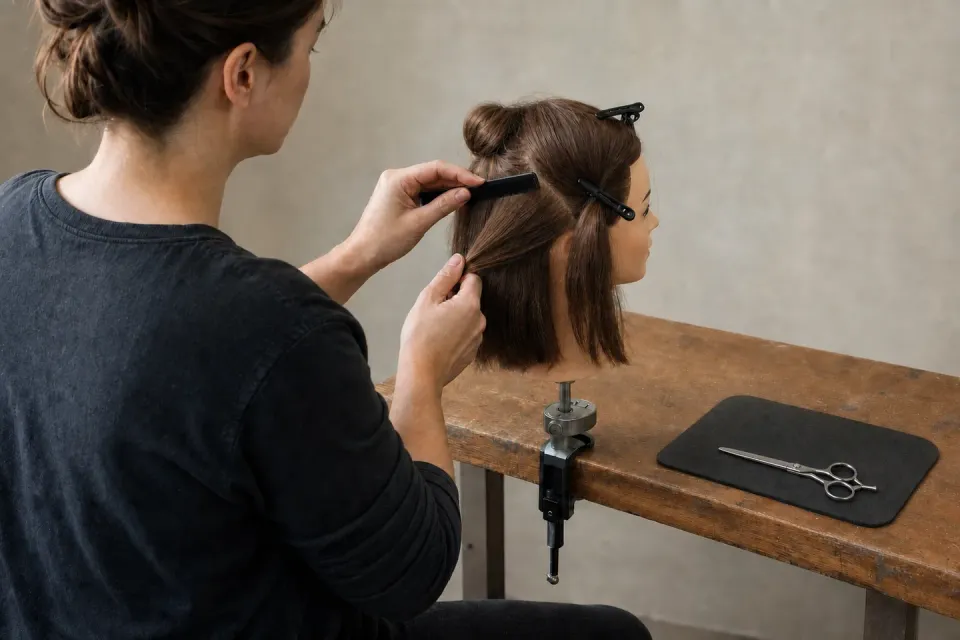
Use this brief for supervised mannequin practice. Your educator chooses the exercise, suitable tools and method. The notes connect a product specification to feedback from your own training; they do not turn two tools into a controlled performance test.
Agree on the result before choosing the tools
Describe the area you are working on, the change the exercise calls for and the line or weight you intend to retain. Fine strand texture and density are separate observations; the fine-hair guide explains why neither automatically calls for thinning.
The official SHBHCUT006 planning document connects the planned design with technique and equipment selection, then review of the result. That is useful planning language for the brief. Your educator sets the actual section, placement, movement and sequence.
Use the existing practice brief and feedback sheet, with these more specific notes alongside it:
| Part of the brief | What to agree or record |
|---|---|
| Intended change | The transition or weight adjustment being studied |
| Retained shape | The line, fullness or area the exercise needs to preserve |
| Tool identity | Model or training-tool ID, cutting hand, nominal size and tooth design |
| Comparison question | The construction difference you want to understand |
| Observation and feedback | What your educator will review, what you noticed and the next practice focus |
Read both specifications first
Keep the cutting hand correct for both tools. Then record the teeth, handle and selected size separately. Two 30-tooth tools can have different tooth tips, gaps and pivots. The same-count comparison shows how those fields can change together.
If you cannot name the visible tooth feature, use the anatomy guide to prepare a question. If the comparison includes a maker’s cut-rate figure, write the model and source beside it. The cut-ratio explanation keeps that stated figure separate from the change you observe in a practice section.
Separate the result from the tool’s condition
Record what changed in the area your educator asked you to assess. Note how the retained line or shape relates to the original brief. Describe the observation plainly, rather than converting it into an estimated percentage or assuming tooth count caused it.
Keep a separate note about the action of the tool. Unexpected catching or a changed pivot feel needs a condition check; do not carry on to collect comparison results. Use the care and symptom guide and the tool’s instructions with your educator.
Turn the feedback into a buying reason
An observation can reveal a practice need as well as a useful construction difference. Ask your educator which it is before ordering a second tool.
Write the reason in one sentence: the role you need, the relevant construction and the hand it must be built for. Add it to the apprentice buying brief. The general practice checklist gives you a place to plan the next session without turning this comparison into a fixed training sequence.