JapanShears Editorial · Published · Updated
10 Checks for Your First Supervised Hair Cutting Practice
Set ten useful fields for supervised haircutting practice, from the learning task and selected tool to observations and educator feedback.
On this page
Give your first supervised session one clear job and one observation to discuss afterwards. “Keep the planned guide visible through this section” gives you something useful to practise and review.
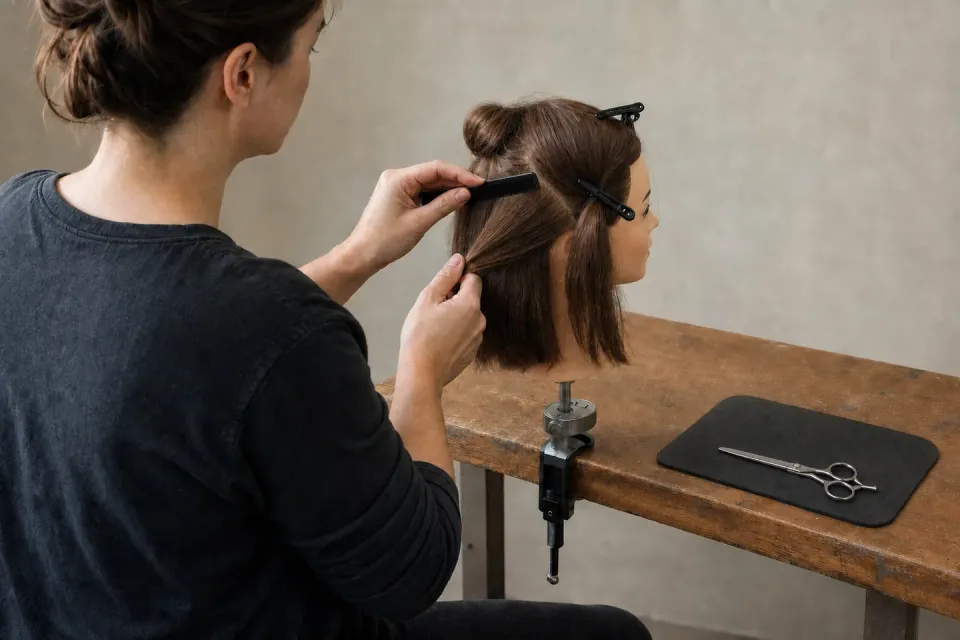
Use the checklist for mannequin practice with your educator. Agree the exercise, method and pause points before starting, then record what happened while the feedback is fresh.
Ten checks before the session
| Check | What to agree or record |
|---|---|
| 1. Learning task | One result or part of the haircut to practise. |
| 2. Instructions | The demonstrated method and when to pause for review. |
| 3. Cutting hand | Your cutting hand and the tool’s confirmed handed build. |
| 4. Tool | Model or tool ID, nominal size and relevant edge or tooth design. |
| 5. Practice setting | The mannequin and supervision arranged for the exercise. |
| 6. Preparation | Workstation, equipment condition and hygiene preparation. |
| 7. Section and guide | The educator’s section setup and guide. |
| 8. Movement | The demonstrated cutting movement. |
| 9. Observation | What to check during the exercise and afterwards. |
| 10. Feedback | The correction to carry into the next session. |
Download the one-page practice brief and feedback sheet. It gives you room for the result, section, tool, observation and next practice focus. Use the scissor glossary if you need a name for a tool feature.
What a completed brief could look like
These are fictional example entries for a supervised mannequin session. They show the level of detail to record; your educator sets the actual exercise.
| Field on the brief | Example entry |
|---|---|
| Intended result | Follow the planned straight line in one agreed back section. |
| Section and guide | Use the section setup and visible guide demonstrated by the educator. |
| Tool and reason | Right-handed Ichiro Ergo, 5.5 inches, convex cutter. The educator selected it for this lesson; keep that tool while practising guide visibility. |
| Observation | I lost sight of the guide in part of the section and paused for review. |
| Educator feedback | Set up the section again so the guide is visible. Ask for a check before continuing. |
| Next practice | Repeat the agreed task, with the educator reviewing the section setup first. |
The example tool is the actual 5.5-inch Ergo option. It is not a universal first-lesson requirement. Use the tool selected for your course.
Connect the tool to the movement
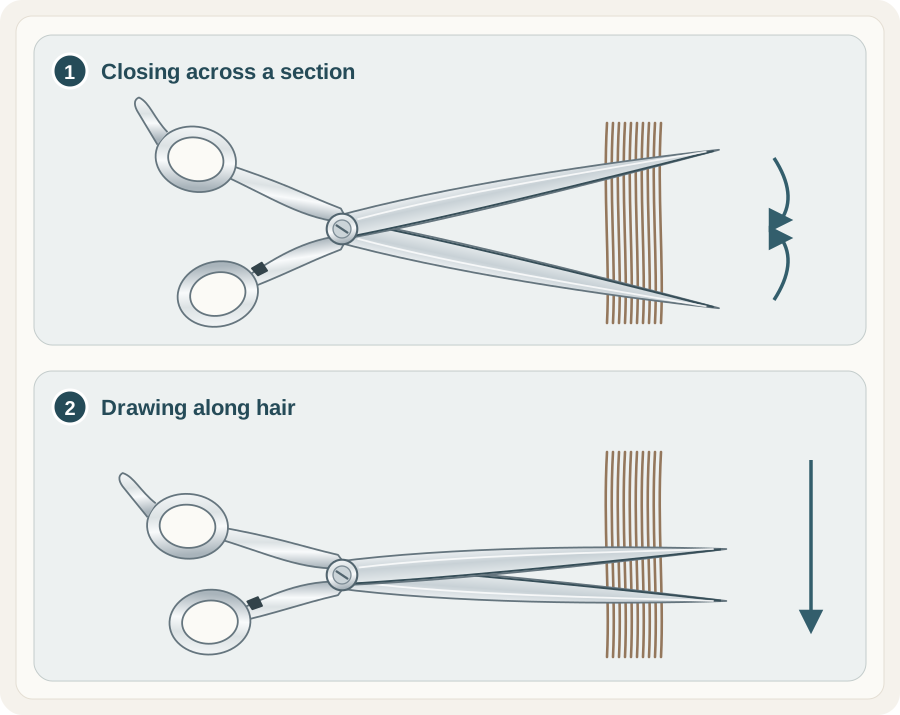
Closing across a section and drawing a blade along hair are different movements. An edge that grips during closure deserves a different comparison from a smooth drawing-cut tool.
 Open illustration at full size
- Closure across a sectionThe blades close across the hair to establish or alter a line.
- Drawing along hairThe tool travels along a section. Blade line, edge condition, intended design and technique all matter.
Ergo makes the specification difference clear: its 5.5-inch cutter is convex, while its six-inch cutter is micro-serrated. The larger size changes the edge as well as the reach. The blade guide explains those fields when you are preparing a tool question.
Make the feedback specific
Record where you lost the guide or where the checked line differed from the plan. Ask what to keep and what to change. One agreed correction makes the next brief much easier to write than a note saying “practise more”.
Keep tool behaviour separate from haircut feedback. An unexpected catch or rough joint needs attention before practice continues. Finish with the tool clean, dry and protected under your training provider’s procedure; use the care guide for the model-specific questions.
For course context, the official SHBHCUT002 one-length haircut unit connects the planned design with techniques, equipment and cross-checking. Your educator’s lesson turns those planning points into the exercise you will perform. If a different tool is suggested, record the reason in your first-kit buying brief before shopping.
If you are still choosing a first pair, see 10 tips for apprentices choosing a first pair of shears.
A closer look at shears
Comparing two models? Send us their names or SKUs and the cutting work you have in mind.
Latest blog posts
Read all blog posts
13 places to buy professional hair scissors online
Thirteen websites that sell professional hair scissors, listed A to Z, with a short box of things to check before you buy.
10 Christmas Gift Ideas for Hairdressers and Barbers
Ten gift ideas for a hairdresser, barber or apprentice, by situation: gift card, case, holster, care kit, combs, razor blades and a first-kit contribution.