Shear Screw and Tension Basics
What tension is, why systems differ and why the maker's instructions come first.
By JapanShears EditorialUpdated
On this page
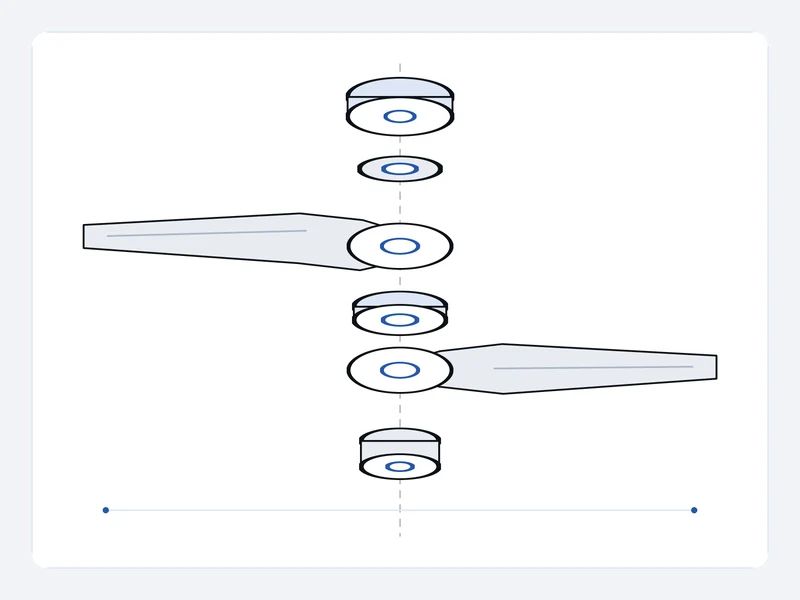
Short answer. Tension is the operating resistance at the pivot, set through the model’s own screw or tension system. It is not a measure of sharpness and it cannot make up for a damaged edge. Systems differ between makers and even within a maker’s range, so use the instructions for your exact model, make only the changes they describe and stop if the action does not improve.
Key takeaways
- Tension is a designed resistance at the pivot, adjusted through the screw or dial the maker provides.
- A flat screw, a tension key, a ratchet screw and a decorative dial are different systems with different instructions.
- This page gives no screw direction, number of turns or release angle, because those are model-specific.
- Tightening to stop hair folding is not a repair for dullness or alignment.
- A dropped shear, a gritty pivot or a persistent problem is a service question, not a screw question.
What is tension on a shear?
Tension is the resistance and contact behaviour of the two blades as they close, controlled through the assembly at the pivot. It is the reason the blades meet along their cutting line instead of drifting apart or binding. It is not a synonym for “tight”, and it is not blade sharpness. A shear can be sharp and badly set, or well set and worn.
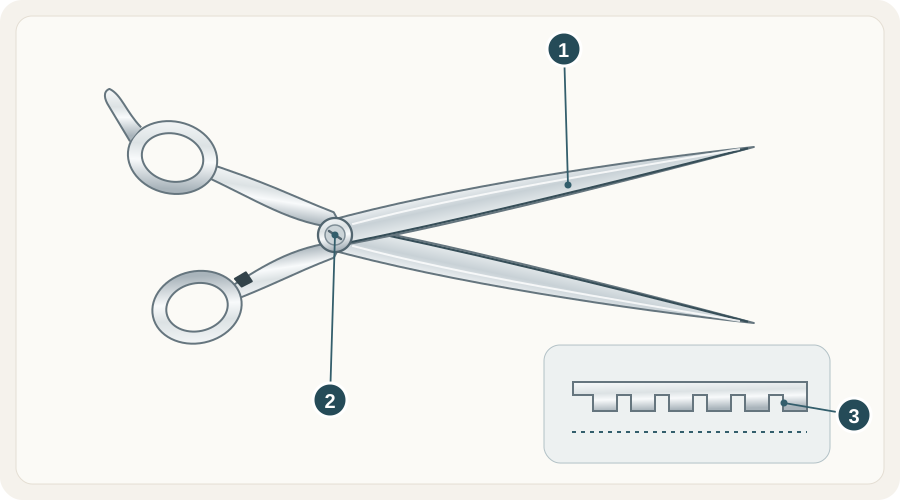 Open illustration at full size
- Blade surfacesLook for loose hair, product residue and moisture without touching the cutting edge.
- PivotCheck the visible joint and how the action feels. Follow the exact model instructions before oiling or adjusting it.
- Thinner teethClear loose hair carefully. Never force a cloth, brush or tool between closed teeth.
The pivot may include a screw, washers, a bearing and other parts, depending on the model. Do not treat one visible decorative feature as the whole mechanism, and do not take apart a system you were not given instructions for.
What kinds of screw and tension system are there?
Makers use several, and the same word can mean different hardware. Typical examples you will meet on listings and maker pages:
| System | What it is | What to know |
|---|---|---|
| Slotted or flat screw | A visible screw head adjusted with a tool the maker names | The maker may specify a particular driver or key |
| Tension key or adjuster | A separate tool that fits a socket in the screw or dial | Use the tool supplied or named for that model |
| Ratchet screw | A screw with a clicking or stepped adjustment | Step size and feel are model-specific |
| Decorative or faceted tension control | A dial or knob styled as part of the design | It may be the adjuster, or it may be cosmetic; read the maker’s description |
Kasho, for example, distinguishes its tension systems and notes model exceptions in its care instructions, and Joewell describes its screw types in its handle and screw reference. Both illustrate the point: a routine that suits one range cannot be assumed for another. For a side-by-side of how each type adjusts and holds a setting, see tension systems compared; for bearing pivots, see ball-bearing versus standard pivots.
What can too loose or too tight feel like?
These are descriptions of common sensations, not a diagnosis.
- Too loose can allow the blades to separate along their length, so hair is pushed or folded rather than cut cleanly.
- Too tight can make the action heavy, wear the contact surfaces faster and make the blades harder to close smoothly.
The same symptoms appear for other reasons: residue, a damaged edge, wear or a section that is too thick. The guide to hair pushing, folding or catching lists plausible causes. Note where along the blade the symptom shows (heel, middle or tip) before you do anything else; a symptom is not a definitive remote diagnosis.
Why does the maker’s instruction come first?
Because a general rule for one screw type can damage another. There is no universal drop-test angle, screw direction or number of turns. Some makers describe a particular check and small, incremental changes; some warn about specific models or about cutting overly thick sections; and some constructions are better left to a technician. Follow the instructions for your exact model.
Use only the intended adjuster, make small changes in the manner the maker describes, and check the action after each one. If the maker publishes no instruction, treat that as a reason to ask before touching the screw. Our care guide and the care and ownership hub set out the routine around this.
What should you do before you touch the screw?
- Clean first. Hair and product residue can mimic a tension problem. Follow the maintenance routine.
- Find the maker’s instructions for the exact model and size.
- Describe the symptom. Note where on the blade it occurs, and when it began.
- Check for an incident. A drop or knock is a different problem from gradual wear.
- Adjust only as instructed, in small steps, and stop if the feel worsens.
If the problem persists, or if the shear was dropped, set it aside and ask a technician who works on that construction. See the service enquiry page and preparing for sharpening.
When to adjust, and when to stop
Adjust when the maker’s instructions describe the adjustment, the shear is clean and the symptom matches what the instructions address. Stop and seek service when the pivot feels gritty, when the shear was dropped, when there is a visible nick or damage, or when adjustment gives no lasting improvement. Do not tighten until hair stops folding: that can hide an edge or alignment problem and add wear.
For a symptom-by-symptom checklist covering stiff, gritty and noisy closing, see what your pivot is telling you.
Common mistakes
- Using one brand’s routine on another. Systems differ by model.
- Tightening to compensate for a dull edge. It can add wear without fixing the cause.
- Dismantling a pivot “to see”. Without instructions, leave it.
- Skipping the clean. Residue can feel like a tension fault.
- Using the wrong tool in the screw. Use the adjuster the maker names.
Questions people ask
How tight should shear tension be?
There is no universal answer. The right setting depends on the model and the maker’s instructions.
Can I adjust a shear with a coin or a household screwdriver?
Use the adjuster the maker supplies or names. Improvised tools can mark or damage the screw.
Does a decorative dial control tension?
Sometimes, sometimes not. Read the maker’s description for your model.
Does adjusting tension sharpen the shear?
No. Tension and edge condition are separate. A dull edge needs assessment by a technician who works on that geometry.
Further reading
- Care habits for Japanese hair scissors, how to clean hair shears and the knowledge base.
- Kasho’s care instructions and Joewell’s handle and screw reference.
- Scissorpedia for general scissor reference.
Scissorpedia is a fellow member of the ShearAlliance (see ShearAlliance).