Advanced Cutting Techniques
Choose the shear geometry that fits slide cutting, point cutting, comb work and texture.
By JapanShears Editorial Updated
On this page
Start with the cut you need to make
One shear can cover many jobs, but edge shape, blade length and handle position change how it feels in each technique. Use the product variant, not the family name alone, to check the length and hand you are buying.
Slide cutting
A drawing cut asks the blade to travel along the hair as it closes. A clean, well-maintained convex edge is a common choice for this movement. Begin with a small section and a light closure; too much pressure or too many passes can remove more hair than intended.
Compare the listed edge on the product page, then look at length. A shorter cutter can feel easier to place near a face frame. A longer blade covers more hair in one motion. The convex edge guide explains what the edge label means.
Point cutting
Point cutting changes a perimeter or adds movement with the tips. The decision is often about tip placement and blade length: a short shear keeps the working tip close to your hand, while a longer one reaches farther into a section.
Set the section, enter only as deeply as the result calls for, and review before repeating. Edge labels do not replace that control. If the shear pushes hair rather than cutting it, clean the blades and check the pivot before changing technique.
Scissor-over-comb
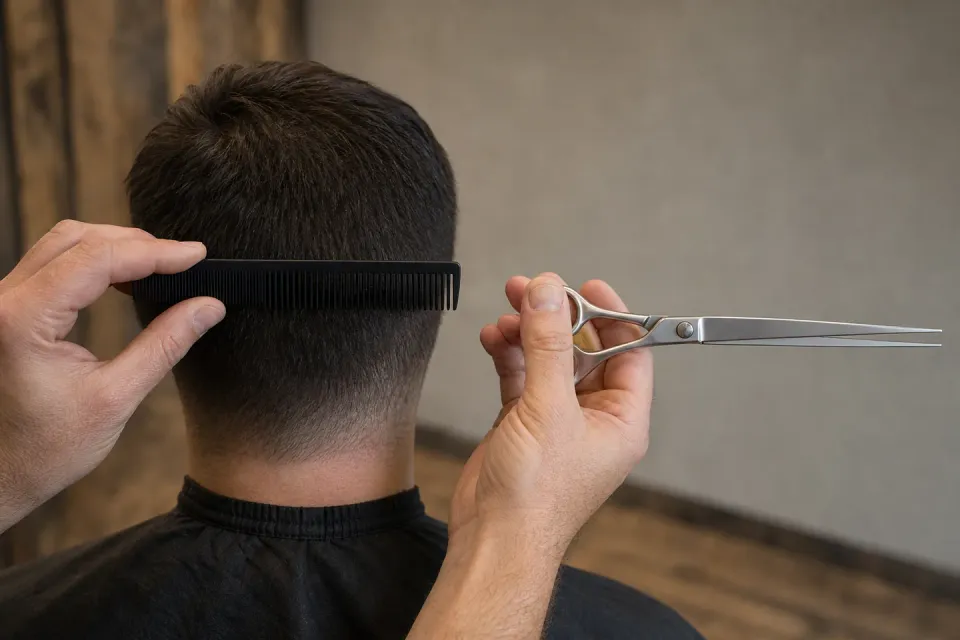
Comb work gives the shear repeated, short cuts along the comb. Many barbers choose a longer cutter for reach, but the best length is the one you can position accurately against your comb. Compare 6.5 and 7.0-inch options in the full range if you want to see how longer shears differ from detail lengths.
Keep the comb moving deliberately and avoid striking it with the blade. Comb contact can mark an edge. Clean residue from the blades and have a professional inspect a shear that begins to fold or push hair.
Thinning and texturising
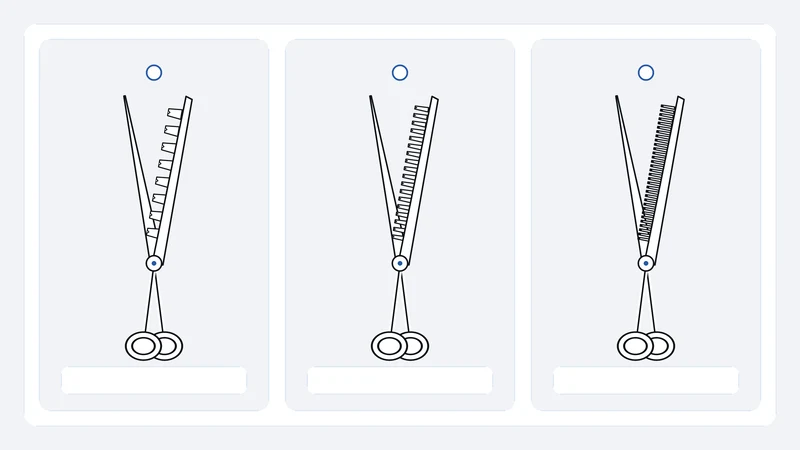
A toothed shear is for a different stage of the cut. Tooth count helps identify a coarser texture tool or a finer blending tool, but it cannot promise a fixed removal percentage. Section size, hair density and repeat passes still matter.
Start with less than you think you need, comb out the cut hair, then decide whether another pass is useful. The thinning and texturising guide compares tooth layouts and examples in the store.
Keep the comparison simple
For any technique, check four fields before buying: hand, whole-shear length, edge or tooth design, and what the selected set includes. Then follow the care guide for cleaning and pivot care. A well-chosen geometry helps you place the tool; practice determines the result.